You can Download and Setup Betternet VPN, a multidimensional app for a secured internet connection in Windows 10. This is a free application that lets you connect to the internet in an incognito manner. The utility will change the IP address so that none can keep a trace of your work on the internet.
The Betternet app pretty quickly identifies your location and joins you with the closest server. This results in a faster and better service while comparing it with the other network providers. Not only this, the program also provides a better security in terms of connection to any public networks. In this regard, you may like to know How to Change Public VPN to Private in Windows 10.
It works more or less like a no cost proxy service but is way more secure. Moreover, it completely safeguards all the passwords and the personal data, therefore, leaving you protected from the hackers.
Betternet VPN is compatible with across all Windows version. It does not require any login and can directly start using the after installation. The service does not save any log of the user and its smooth interface is very user-friendly. It works on simple one click connection rule. And the best part of Betternet is that the feature connects the device to the fastest accessible server.
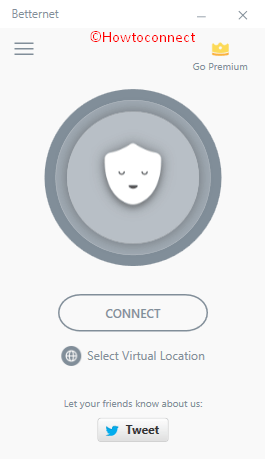
Table of Contents
How to Download and Setup Betternet VPN on Windows 10
Download Betternet VPN
Step 1 – Reach out to the Betternet VPN page and Download the tool from there.
Step 2 – Now, once the download is over, double-click the BetternetForWindows390.exe file. Follow the guidelines on the wizard that comes up to finish off the installation process.
Get the app from here – https://www.betternet.co/
How to Use Betternet VPN (Free Version)
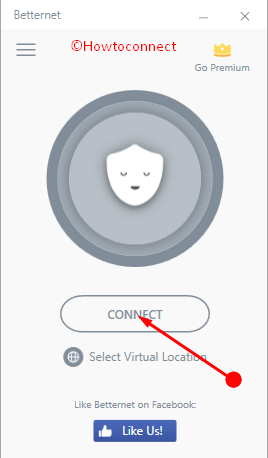
Step 1 – First of all, open Betternet VPN application. Click on the Connect button as shown in the given screenshot to start the search for the nearest network location. This immediately starts searching for the network and connects to it quickly.
Step 2 – After you are over with your surfing and work, simply click the Disconnect button.
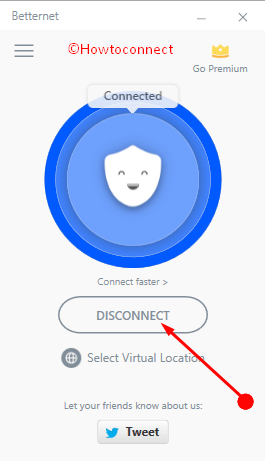
But kindly remember that this free version of Betternet VPN is a seven days trial. But for further usage, you need to upgrade it to the Premium version by choosing an appropriate plan.
How to Use Betternet VPN (Premium Version)
Step 1 – Click Select Virtual Location option after you launch the utility.
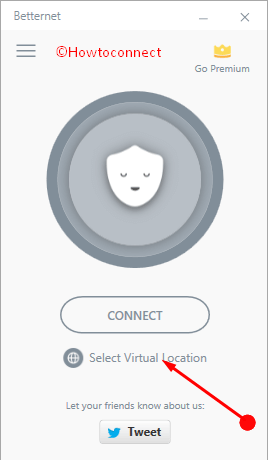
Step 2 – This shows a list of cities to choose. Select the city you reside in. But in case your city is nowhere on the list then choose any of the cities from the option.
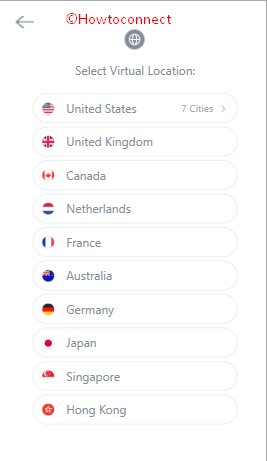
Step 3 – Now this displays the rate list of the premium plans. Here, select a plan accordingly.

Step 4 – This takes you to the payment section page to clear off the payments. Once all is set and done you become a premium member of this VPN service.
Concluding Remarks
Thus you see that this is the service that helps you with the privacy and the security issues of the networks. This is quite a reliable one that actually connects us with the best possible option at that given point in time. Therefore, Download and Setup Betternet VPN on Windows 10.