You will come to see here how to install WordPad on Windows 10 from Optional features Settings section and CMD. Previously, the app came as a built-in tool but after Microsoft shifted it into Windows Settings. So now you can add and remove the text editor from the Optional features area.
Microsoft WordPad is basic well-to-do text editor available since Windows 95 till now. This editor allows you to perform much more than common operations such as formatting text, changing the font color, and inserting pictures in documents.
How to Install WordPad on Windows 10
Here is how to install WordPad on Windows 10 –
1] Using Optional Features in Windows Settings
Step-1: Open Windows Settings.
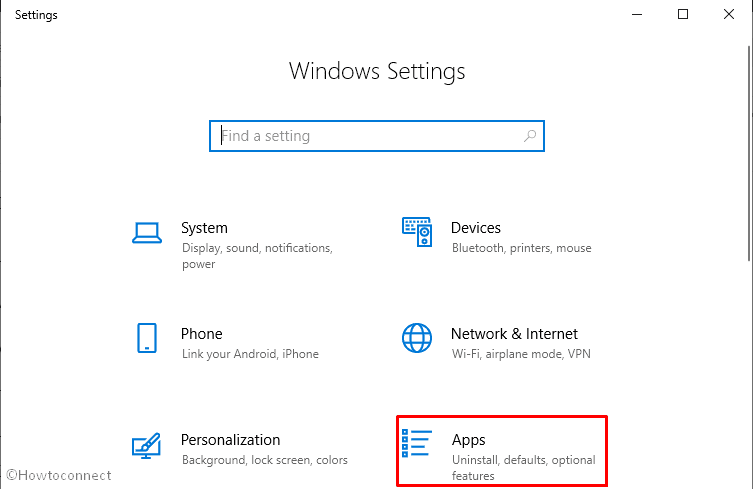
Step-2: When appears, select Apps.
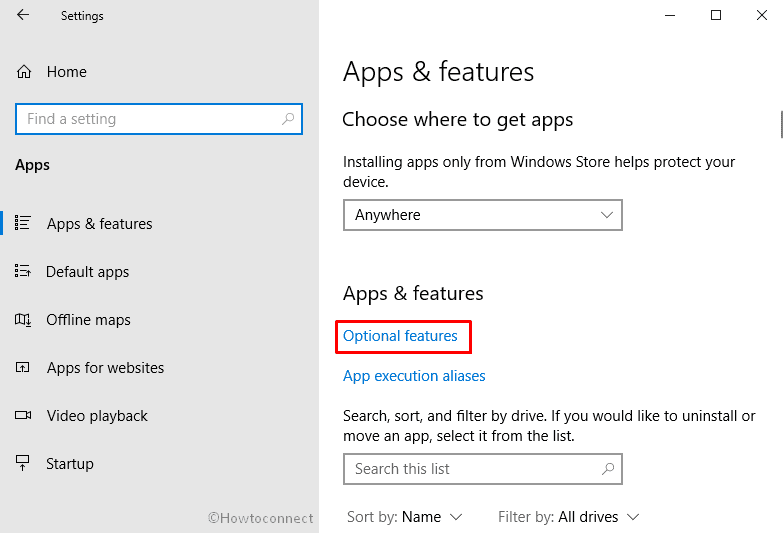
Step-3: On the subsequent page, click Optional features link in the right pane.
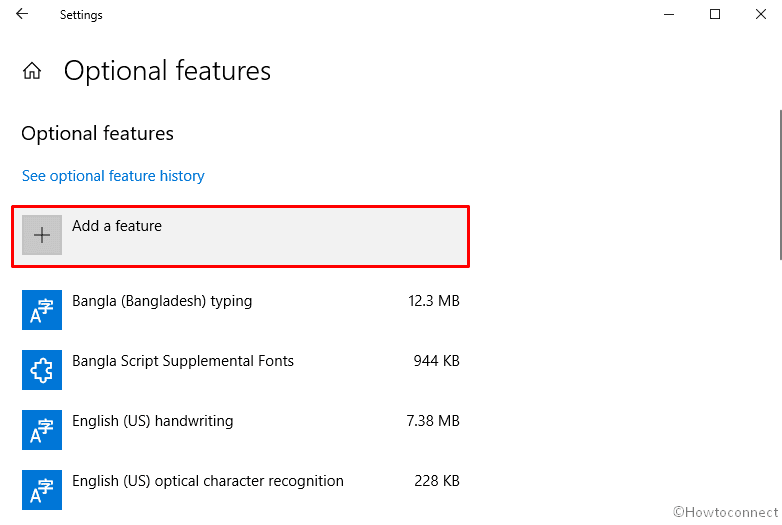
Step-4: Next, click Add a feature + icon.
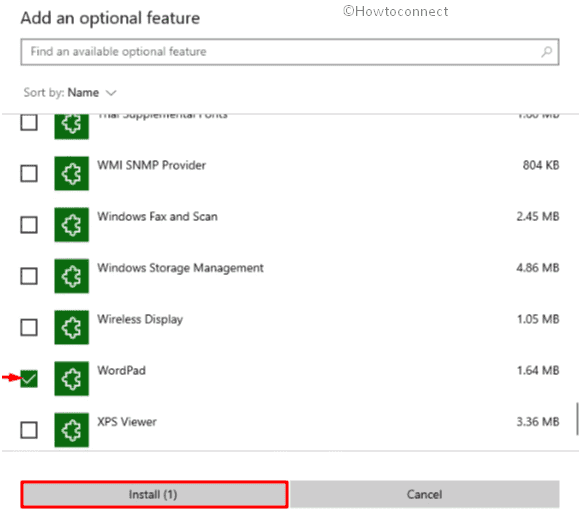
Step-5: The system will present a list of available Optional features. Scroll down to search WordPad and when found click the checkbox located against it.
Step-6: Finally, Select Install button to head over.
2] Install WordPad on Windows 10 Through CMD
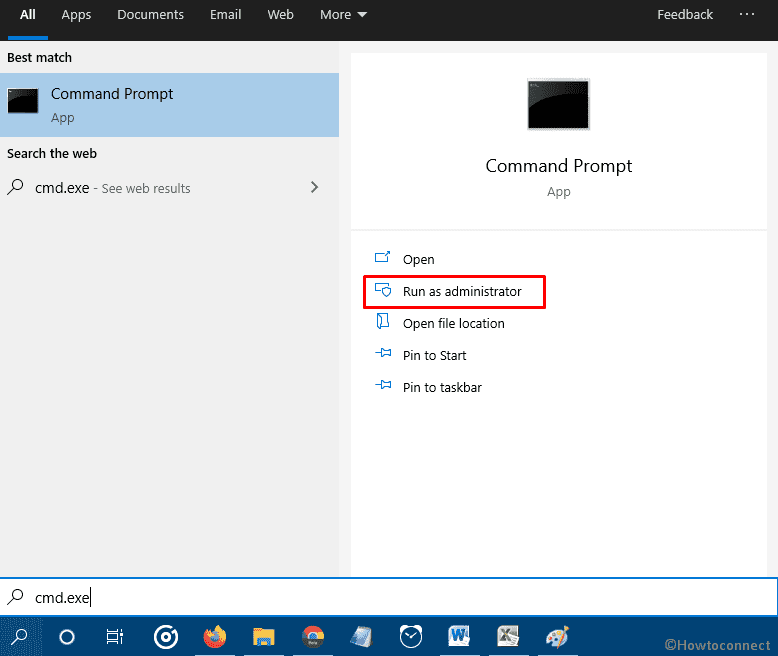
- Click the Start button and type cmd.exe.
- When the result becomes visible, click Run as administrator from the right column.
- A UAC will turn up, click Yes to permit the change.
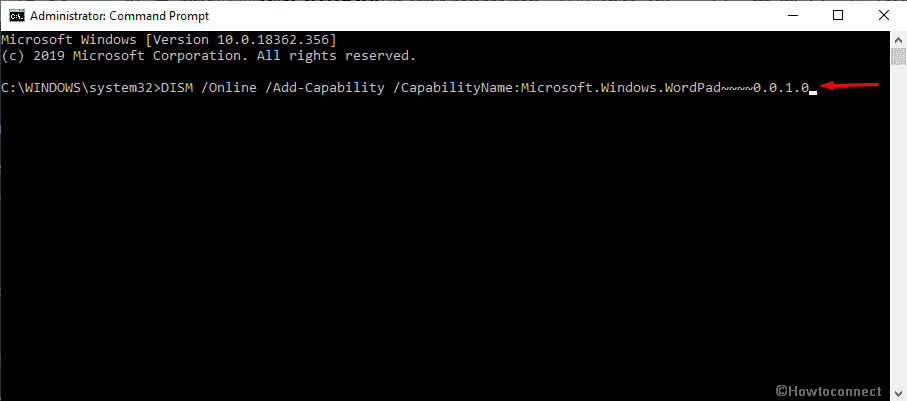
- On the black panel, type the following syntax and hit Enter to execute the command –
DISM /Online /Add-Capability /CapabilityName:Microsoft.Windows.WordPad~~~~0.0.1.0
See more posts on relevant to the topic Wordpad and Apps Settings –
1) How to Create Keyboard Shortcut to Notepad on Windows 10
2) Windows 10, 8 Best Free Text Editor: Notepad Classic
3) How to Organize Apps Settings in Windows 10
4) How to Create Shortcut to Apps Settings on Windows 10
5) How to Manage App Execution Aliases in Windows 10
Methods:
1] Using Optional Features in Windows Settings
2] Through CMD
That’s all!!
