Manage WiFi Sense in Windows 10 is one of the new element that Microsoft introduced in the just produced operating system. In this post, you will be outlined with the meaning and working of WiFi Sense in Windows 10.
If you have paid attention to the notifications you receive, one such notification comes from the WiFi Sense where it asks you permission to utilize your Facebook account. Along with Facebook, WiFi Sense also blends well with Skype and Outlook contacts.
The birth of WiFi Sense in Windows 10 computers must be new but it originated from Windows 8.1 phones, The prime characteristic of WiFi Sense is to share your WiFi network with your contacts. Well, Outlook and Skype are of Microsoft but it also lets you share your network access with your friends of Facebook. The object of WiFi Sense is pretty easier to understand. You too a surprise visit your friend’s place or vice versa, Windows 10 all by itself sign in your system to their WiFi connection if they had shared with you through WiFi Sense. So, let us begin the walk-through and see how to manage WiFi Sense in Windows 10.
Table of Contents
How to Manage WiFi Sense in Windows 10
We will divide the answer into different segments. Each segment will provide you different scenarios of WiFi Sense. So, let us begin!
Configure WiFi Sense
WiFi Sense in Windows 10 is turned on by default. You can choose to turn off the feature from WiFi settings. Let us see how to Manage WiFi Sense in Windows 10 and what WiFi has held to offer you.
- Open your Network & Internet tab of the Settings app.
- Choose to be the WiFi settings.
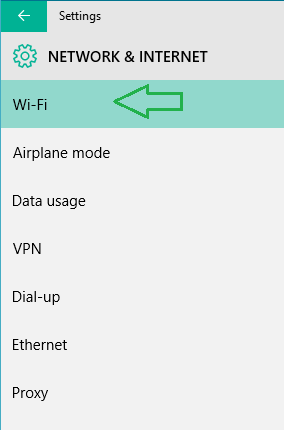
- Click Manage WiFi settings link.

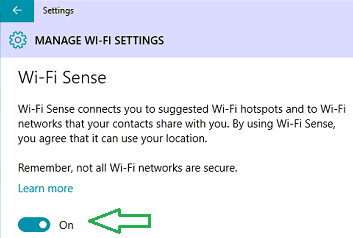
- This opens up your WiFi Sense section.
- Using the slider you can prefer to turn off WiFi Sense completely.
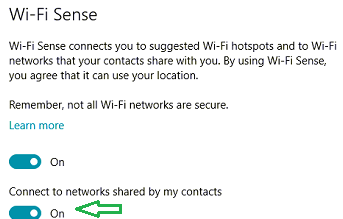
- Here, all you need to do is to use the slider of Connect to networks shared by my contacts and get yourself connected to the networks of your friends, of course, they have to be Windows 10 users.
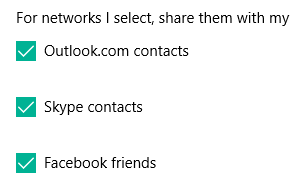
- Next, all you need is to choose the contacts you prefer to share the network with. As known Outlook and Skype associated with Microsoft whereas you need to personally give permission for Facebook.
- Coming down to the bottom half, you can see which networks you have shared.
- Under Manage known networks, you can see whether the networks are being shared or not.
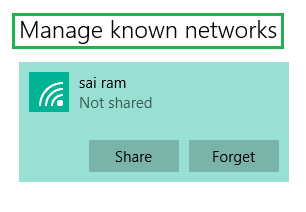
Share Network with your Contacts
When you first connect your Windows 10 computer to a WiFi network, you are asked to share the network connection with your friends. When you choose to share the details with your contacts, it certainly gets shared with those using Windows 10 gadgets. To do so follow the below steps:
- Spread the Settings app and take entry to the Network & Internet category.
- The left side showcases few settings section. Opt for WiFi.

- Now you can see the available WiFi connections list on the right side. Click on your connection to get connected with.
- A dialog box pops up asking for the password of the network. There you can also see a check box that says Share networks with my contacts.
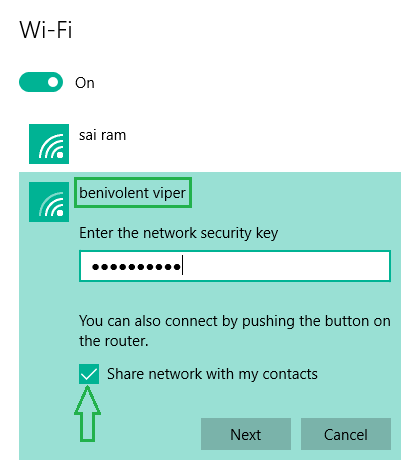
- After making a choice to share, your friends can get associated to your WiFi network whenever they are near your connection but have to be a Windows 10 user.
Allow WiFi Sense to Access your Facebook Account
Before proceeding you might think why does WiFi Sense needs to access your Facebook Account only. Well, it also uses your Outlook Account and Skype contacts as they are part of Microsoft’s family. Facebook being an outsider, Windows needs your permission for admittance in your Facebook contacts. Now, when you render it, the shared networks will be shared automatically with your Facebook contacts using Windows 10 and also downloads the networks if it finds any of your friends share with you. To connect your Facebook contacts, read out the below steps –
- Be into the WiFi settings section as mentioned in the above section.
- You can see a link Manage Wi-Fi settings on the right pane of WiFi settings. Click on the link.

- You will be directed to the new settings list where you need to click on a link saying WiFi Sense needs permission to use your Facebook account.
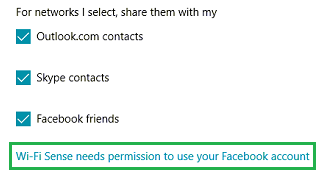
- It opens up a separate box where you need to enter your Facebook credentials.
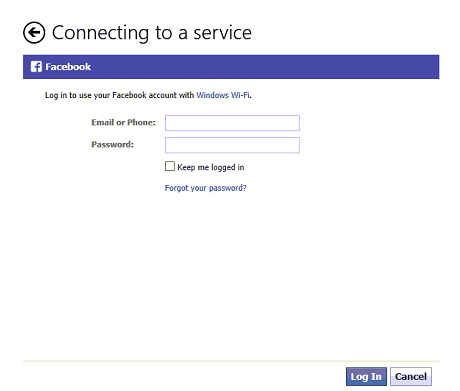
- In this way, you permit your Facebook contacts to connect your network whenever they are near to it.
In this way, you can manage WiFi Sense on your Windows 10 System.