OneDrive is a cloud service that provides users with a wide range of online storage facilities. You might have applied this feature to access certain files on multiple computers after a sign in with Microsoft Account. However, you can choose to Remove PCs from OneDrive Online To protect the files from other users.
The deletion of PCs from OneDrive is important if the device is being shared by other users. The move may secure the online storage items from falling into unwanted hands. Once you login to OneDrive website, it will list down the connected PCs; simply select the devices that you prefer to remove.
Remove PCs from OneDrive Online
Here is How to Remove PCs from OneDrive Online in Windows 11 or 10 –
- Open any preferred web browser, navigate to OneDrive website and provide account details to log in.
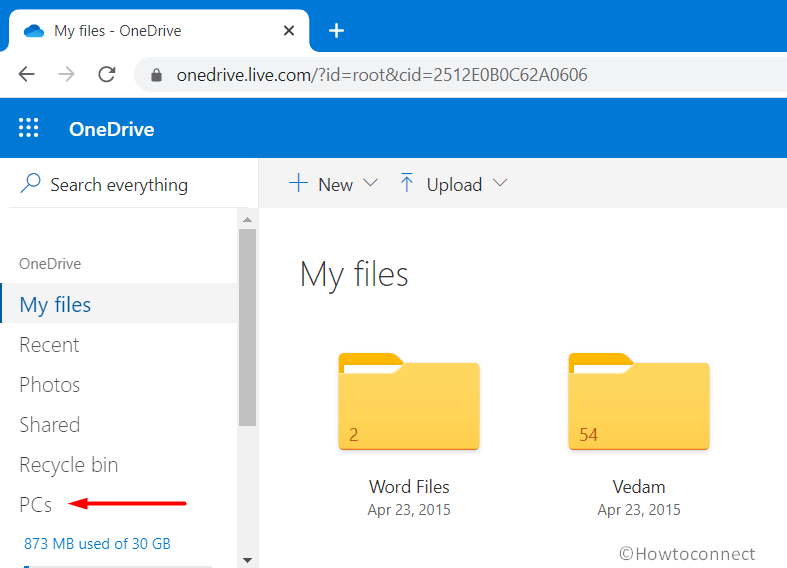
- Click PCs on the left navigation pane to explore the list of computers where your OneDrive account is accessible.
- Shift to the new tab page and go through the devices list in the left column. Choose the one that you prefer to disconnect with and click Remove PC.
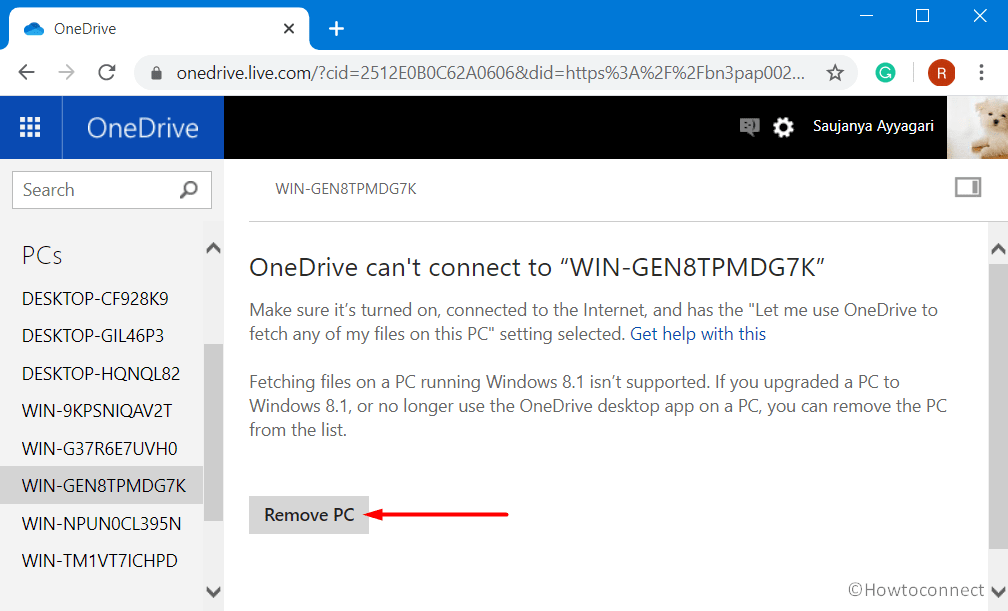
- Click Remove PC button.
More posts similar to Remove PCs from OneDrive Online in Windows 11 or 10 –
1] How to Disable Enable Always Show Availability Status in Windows 10
2] How to Change OneDrive Password in Windows 10
3] How to Enable / Disable OneDrive Usage in Windows 10
4] How to Pause Syncing in OneDrive for 2, 8 and 24 Hours
5] How to Enable File Collaboration in OneDrive Windows 10
6] Customize Sync Conflicts Settings in OneDrive Windows 10
7] How to Add a OneDrive Business Account to Windows 10
8] How to Limit OneDrive Upload and Download Rate in Windows 10
9] Windows 10 – How to Customize Sync Settings with OneDrive
That’s all!!!