If you ask “Who Are You?” after seeing whoami.exe in your processes list, then you are at the right place. Mainly it’s a file that helps to get the account name and group information of the current user on a local system. Though whoami.exe is not a virus itself, developers target this type of executable file to inject malware. As a result, you may experience something unusual in your computer. This article will explain to you What it is and How to Disable and Fix whoami.exe in Windows 10.
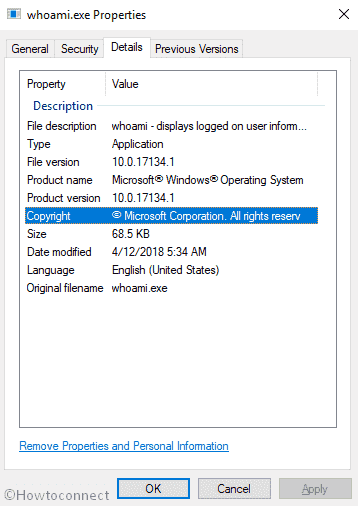
whoami.exe is a command-line utility in Windows 10 that identifies the signed in account’s name. Moreover, you come to know SID (Security Identifier), titles of the security groups it is a member of and its privileges.
Fix and Disable whoami.exe in Windows 10
Here is How to Disable and Fix whoami.exe in Windows 10 –
By following the below process, you can secure your system from whoami.exe (the malicious one) permanently. But you will need to boot your Windows 10 in safe mode before Disabling and Fixing whoami.exe in Windows 10 –
Boot Windows 10 Into Safe mode
Press Win key to open Windows 10 Start Menu.
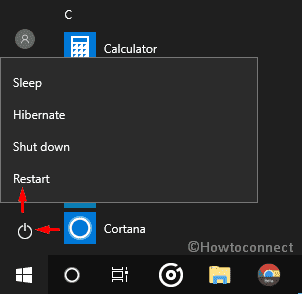
Click on the “Start” and then Power icon from the bottom left corner. Once it shows the options, Press the Shift key and click on the Restart. Continuously hold down the shift button until the computer starts.
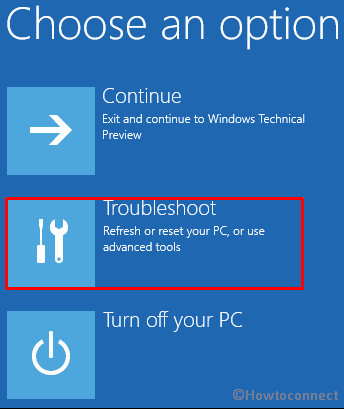
Once it starts in the recovery environment, “Choose an Option” will come into the view. Select Troubleshoot from there.
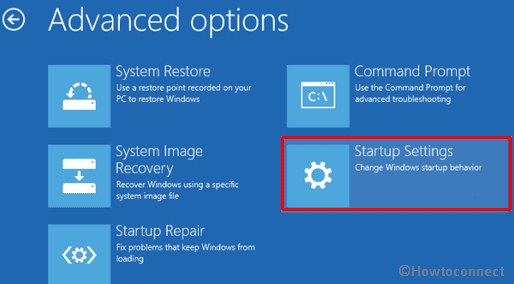
After that, click the Advanced options.
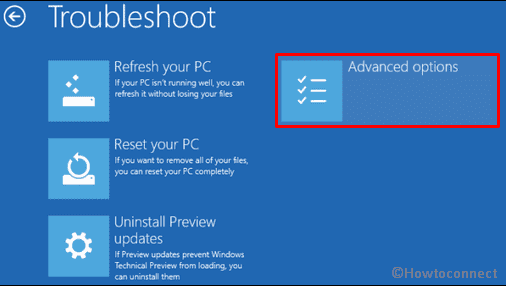
Now on the following screen, click on Startup Settings.
Then click on the Restart.
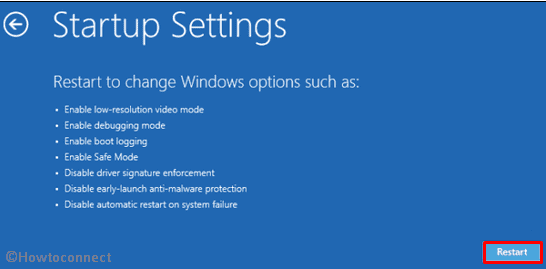
When your computer restarts, you will see a list of options. To enter into Safe Mode, press F4 on your keyboard.
End task whoami.exe
Once your system enters Safe mode successfully, press Ctrl + Shift + Esc simultaneously and let the Task Manager appear.
Click on More details from the bottom left if it’s not already expanded.
Shift to the Processes tab and locate whoami.exe in the visible list. Make a right click on it and Select End task.
Check the Hidden folders
Now, You have disabled whoami.exe in Windows 10. The next step is to make all the hidden files visible so that you can view the malicious whoami.exe if exists.
Press Win+E hotkey.
Click on View from the top menus and then Select Options on the ribbon.
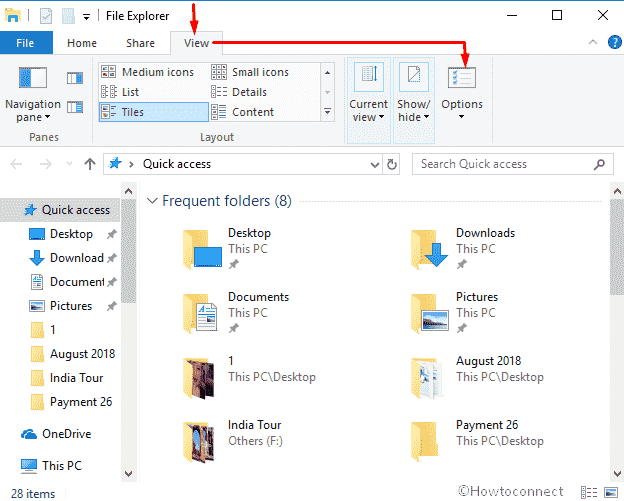
When a wizard comes into appearance named Folder Options, move to View tab on it.
Now, check the small round cell adjacent to “Show hidden files, folders, and drives”.
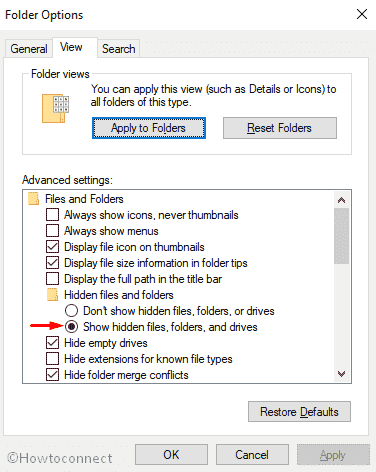
Finally, press Apply and then OK to make the changing efficacious.
Step-4: Check the suspective path
The malicious files can set its dwelling into various directories. You have to manually follow the susceptive paths and delete the malicious whoami.exe and whoami.dll one after another. The paths should be followed:
c:\mingw\msys\1.0\bin\
c:\xilinx\14.7\ise_ds\edk\gnuwin\bin\
c:\windows\winsxs\amd64_microsoft-windows-whoami_31bf3856ad364e35_6.3.9600.17415_none_bf87793d55939bbd\
c:\windows\winsxs\amd64_microsoft-windows-whoami_31bf3856ad364e35_10.0.10586.0_none_5b0216af2c2d5bf2\
c:\etiquetas\cybersineslda\software\arduino-0021\arduino-0021\hardware\tools\avr\utils\bin\
c:\windows\winsxs\amd64_microsoft-windows-whoami_31bf3856ad364e35_10.0.16199.1000_none_d40b42e1b6619b41\
c:\minibloq.v0.83\lang\winavr\v20090313\utils\bin\
c:\windows\winsxs\amd64_microsoft-windows-whoami_31bf3856ad364e35_10.0.15063.0_none_df90578fbaa4e229\
c:\windows\winsxs\amd64_microsoft-windows-whoami_31bf3856ad364e35_10.0.16299.15_none_f168aa48f2fa9beb\
c:\cygwin\bin\
c:\winavr-20100110\utils\bin\
c:\windows\winsxs\amd64_microsoft-windows-whoami_31bf3856ad364e35_10.0.17134.1_none_b3fd0aadeb008eab\
c:\hashicorp\vagrant\embedded\usr\bin\
c:\opscode\chefdk\embedded\git\usr\bin\
c:\windows\winsxs\amd64_microsoft-windows-whoami_31bf3856ad364e35_10.0.14393.0_none_fbf0e9d19888cd28\
c:\windows\syswow64\
c:\windows\system32\
c:\cygwin_wm\bin\
c:\cygwin64\bin\
After manually eliminating all the malicious files, Restart your system.
Read – Quickest ways to Manually Remove Viruses on Windows 10
Congratulations! Now, you have successfully eradicated the infected executable file. Always remember that the genuine file of whoami.exe in Windows 10 is a vital command-line utility. So, before removing it from your computer, be 100% sure that you are removing the culprit one. You can easily differentiate the fake and legitimate whoami.exe by its directory. The authorized one is always located in C:\Windows\System32.
The Corrupted whoami.exe in Windows 10
Do you know virus inventors have added malicious code into the whoami.exe file and launched it on the internet with only one motto; harm your computer and fetch all your important details. To easily identify the infected command-line utility, note that its MD5 value is 26e6441983a3b98fb2b32d8a0c78050b and size of file is 69 KB (70,656 bytes). Without going much into details, you should understand that whoami.exe (the malicious one) can harm your computer too much. To get a rescue from this, scan your full system with Windows Defender.
Do a click on the Shield icon located in the Notification bar.
![]()
Thereafter, Select Virus & threat protection.
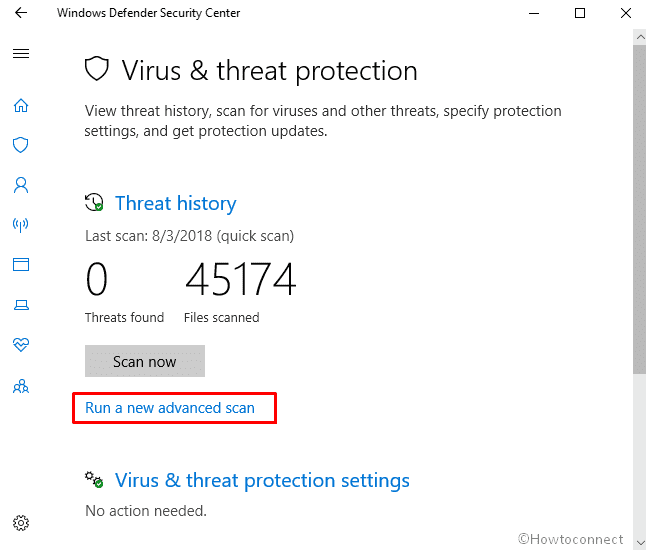
Select “Run a new advanced scan” link on this page just underneath the Threat history area.
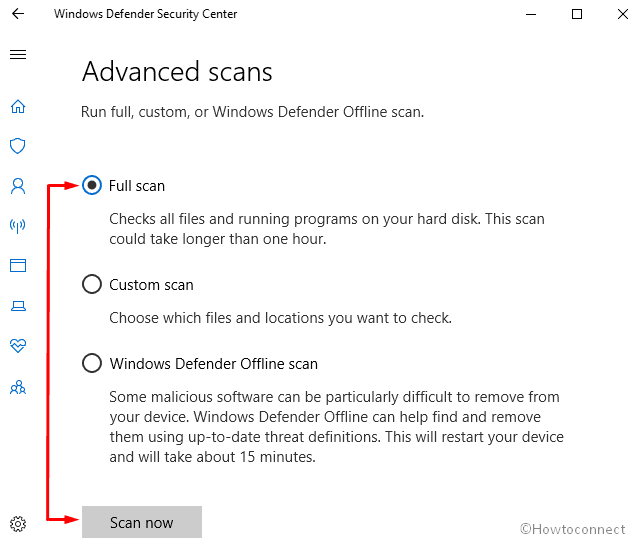
Ensure that the radio button of Full scan is checked and finally, click on Scan now.
You may also see the compilation of methods – Everything You Can Do in Windows Defender Security Center on Windows 10
Use whoami.exe in Windows 10
The command-line utility is used to identify the currently logged-on user. In order to utilize it, open Command Prompt as admin first. Hereafter, type whoami /parameter after the blinking cursor and press Enter. Here is the complete list –
- /UPN – Showcases the username in User Principal Name (UPN) format.
- /FQDN – Sow up the username in Fully Qualified Distinguished Name (FQDN) format.
- /USER – Turn up with the information on the current user along with the security identifier (SID).
- /GROUPS – shows group membership for the current user, type of account, security identifiers (SID) moreover attributes.
- /PRIV – presents the security privileges of the current user.
- /LOGONID – This attribute will provide the logon ID of the current user.
- /ALL – represents the current user name, groups, the security identifier (SID) furthermore privileges for the current user access token.
- /FO format – indicates the output format to be displayed. Valid values are TABLE, LIST, CSV. Column headings are not displayed with CSV format. The default format is TABLE.
- /NH – determines that the column header should not be showcased in the output. This is valid only for TABLE and CSV formats.
- /? – Displays this help message.
You can follow the alternative way for the same – How to Find Out Who is Logged into Windows 10.
That’s all!